
Relief Carved Phoenix Box
Based on decorating practices of the 14th through 16th centuries
Project Completed August 1, 2002
Wooden Boxes
In today’s world, one of the most popular methods of storage is the wooden box or chest. Ladies often find themselves receiving a “Hope Chest” to place their valuables in as they wait for a suitor to propose marriage. In the case of my mother, she still owns her hope chest, and I now one that of my grandmother. It makes one wonder why chests have survived in their importance through the years.
In the mid to late middle ages, chests and boxes were more important than they are even today. Chests were used to protect people’s property as they went on voyages, or store goods from vermin and parasites. Cedar lining within a chest would insure a natural way to keep moths from eating their clothing. Even those that were not well off with money could have a simple chest made to keep their belongings in.
On hearing of the theme of Baronial Birthday this year, it made me think of things that the barony could truly use. One of the requests that her excellency made several months ago was for gift boxes to give to foreign representatives when she traveled, or if the gentles of far off lands were to visit Sacred Stone. This made me sound in my decision to create a small gift box, and make it as ornate as possible. That way, it would be a nice keepsake for a visiting gentle, perhaps something that they would be able to keep their own little treasures in for a long time to come.
Of Methods and Mayhem
To start the project, I found myself once again wandering the shelves of small boxes at my local Michael’s store. They have a wide variety of sizes, shapes, and textures. All of the boxes that were of the size that I wanted were made of bass. Bass tends to be quite easy to carve, and will take paint well, so I found one that I liked relatively quickly.
The box itself does tend to resemble a steamer trunk from our post period, but documentation has been found that even in the 13th centuries there were boxes that had rounded tops to help prevent rain from settling itself on the chests during sea voyages. This being known, I found the patterns for decoration that I wanted to follow after doing a little research on techniques.
After reading through a paper online about wooden chests by Master Dafydd ap Gwystl, I looked at several of the pictures that he had posted on his paper that had intricate carvings of scenes on them. A certain example that I began to pattern from was a reproduction piece of an Italian cassone in the Philadelphia Museum of Art (seen to the right). This photo depicts a scene of a lion on the front of the box, surrounded by intricate relief carvings as well as heraldry. This was my basis for using the badge of Sacred Stone, the two-headed phoenix on the top of the box. It also made me feel worlds better about painting the decorations on the box, as the heraldry is painted.
After doing a bit of research, I began carving out the phoenix on the top of the box using my Dremel tool. I tried to make sure that I roughed out just enough on the outside of the phoenix that it would give a nice contrast in height. I also tried to make sure that the relief of the phoenix’s wings and faces were tight enough that they would not break off easily, as the basswood is so pliable. It took a lot of additional hand sanding to get the nice texture that I ended up with after carving as well.
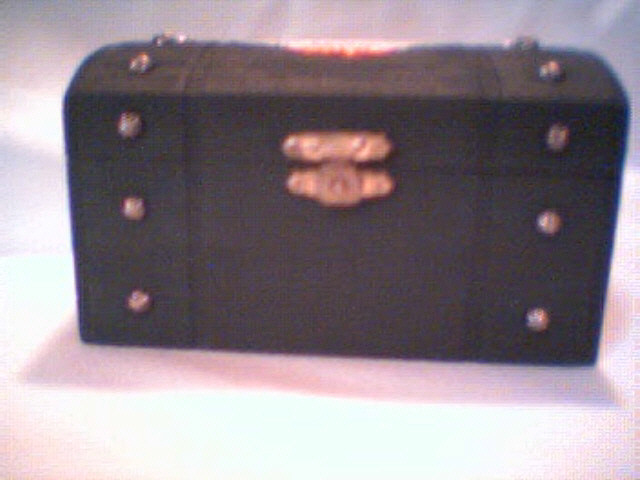
After carving, I began to paint the box. In the spirit of Baronial Birthday, I painted the majority of the box green. I painted a little bit more detail into the phoenix, opting to paint the beaks, flames, and other detail with duotones. I did this by simply painting on my base color, and then painting the second color over it until I got the desired contrast. I also decided to put on some leather studs over the raised areas that were made into the box before I purchased it. I haven’t found documentation to support this technique, but the effect is quite nice for a gift box.
After the ornamentation of the box was finished, I didn’t quite feel as though I had done enough work with the box. After all, if it was to be a gift, I wanted it to be as memorable a gift as possible. So, I began to line the box. I took some pretty thin cardboard stock and pleated white fabric that I had along the stock (I’ve had plenty of practice in this department after folding a kilt for such a long while). After doing 2 pieces of this cardboard stock wrapping, I folded them together to fit and line the box. I attached some of the same fabric to 2 larger flat pieces of the stock to use in lining the bottom and lid of the box. After all of the pieces were created, I simply glued them into place with some tacky glue.
Thoughts in Retrospect
This piece is the first decorative box that I have created, and I’m pretty pleased with it. After its completion, I learned of a few tricks with the fabric that will help in future projects, should I choose to line them. I also think that next time, I will put a clear coat of enamel over the paint, as it tends to scuff a little.
The parts that I am most pleased with are the amount of depth that I got into the top of the box with the carving, despite how much the wood itself tended to splinter as I carved. The sanding of the carvings after I was done roughing the design out is the part that I took the most pride in. After carving for several hours, I spend at least double that amount of time sanding. The overall effect was a good one, so I’m glad I spent as much time as I did with the sanding.
The project itself is not a difficult one, so I am sure that I will try again. The smaller boxes may be best painted instead of carved, so I may try just painting them the next time.
Project Photos
Click for a larger view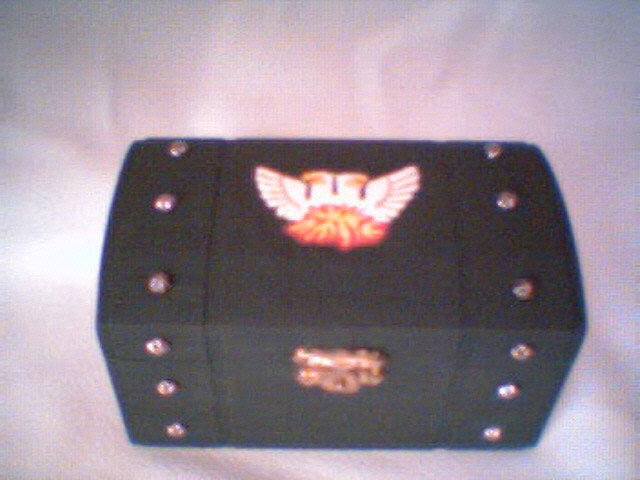


Constructive feedback is both welcome and appreciated, please let me know if I missed some pertinent information or if there's somewhere I can improve.
As always, thanks for reading!
Ihone