
Hardening Leather with Wax
Hardening with wax was not altogether unheard of in period, but using it on a widespread basis may not have been as popular as it is in the SCA or other re-enactment groups. This article is intended more for a tutorial on how I actually wax harden, as opposed to research at the moment. As I discover other methods that are documentable though, I will post up points of reference.
Step 1: Gather Your Materials
In this case, I'm hardening a gorget for use in rapier. It's made from 8oz leather, so it's on the thick side. The reason that I'm noting this in the first step is because an important note here is that you'll want to do any dye, paint or stain work before you go any further. If you like your edges burnished, now's the time to do that as well. You want to also make sure that any straps that were on the piece are not on it during this phase, since that would harden the straps as well.
In this case, the piece has been burnished and the dye has been applied (Fiebling's "USMC Black" oil dye). I've not seen any significant difference between using oil or water based dyes when it comes to cooking down your leather.
Preheat your oven as low as it will go (mine goes down to 170 degrees).
Note that you should either have a dedicated pan for cooking leather or cover the pan in foil. You will ruin your pan with the chemicals from the leather.
Step 2: Melt the wax down and begin application
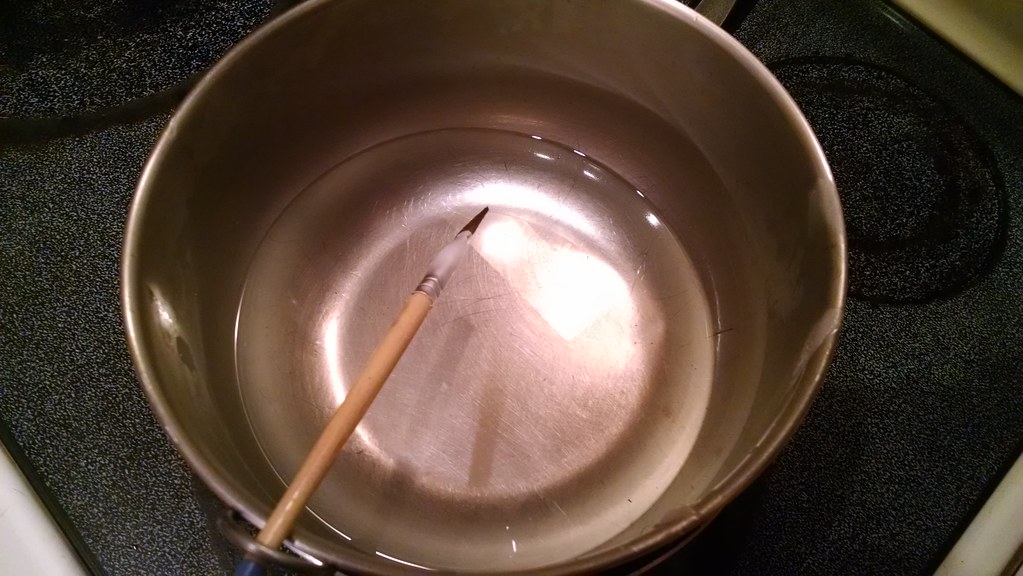
Melt down some paraffin in a double boiler on low heat. I prefer the paraffin because it carries very little (if any) smell, and it seems to weep less in hotter temperatures (like the back of your car in the middle of summer in Southern Atlantia). As the wax is melting down, you can also place your leather piece in the oven to warm it up. This will help the initial application of the wax to absorb into the leather itself a bit better than if it's going on to a cold surface.
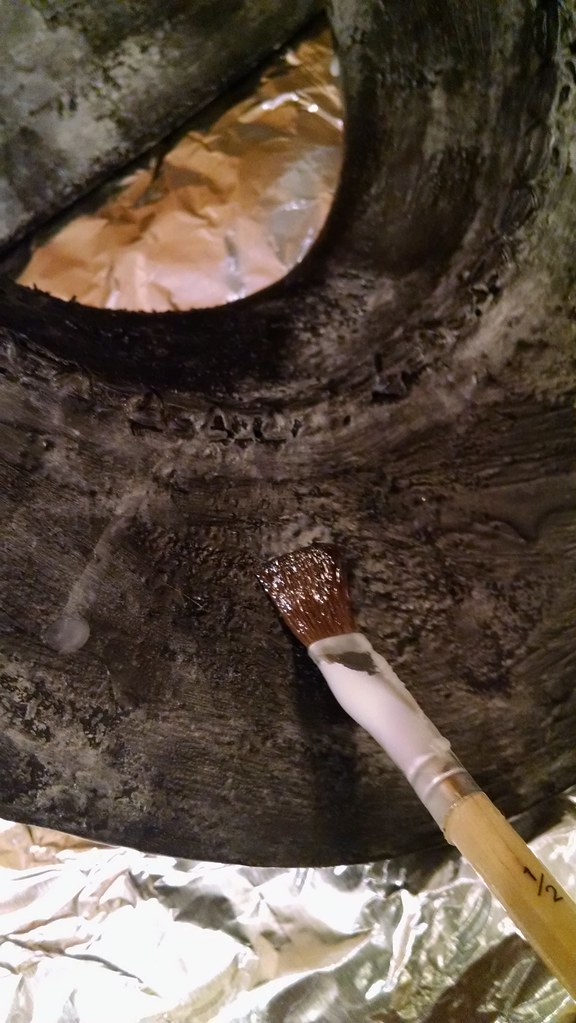
Note that I leave my leather piece cold simply to see where the wax has touched for the initial application. I use a brush and paint the wax on in order to get a basting pattern over the piece. Also note that I baste both the inside and the outside of the piece so that the wax can absorb from all directions.
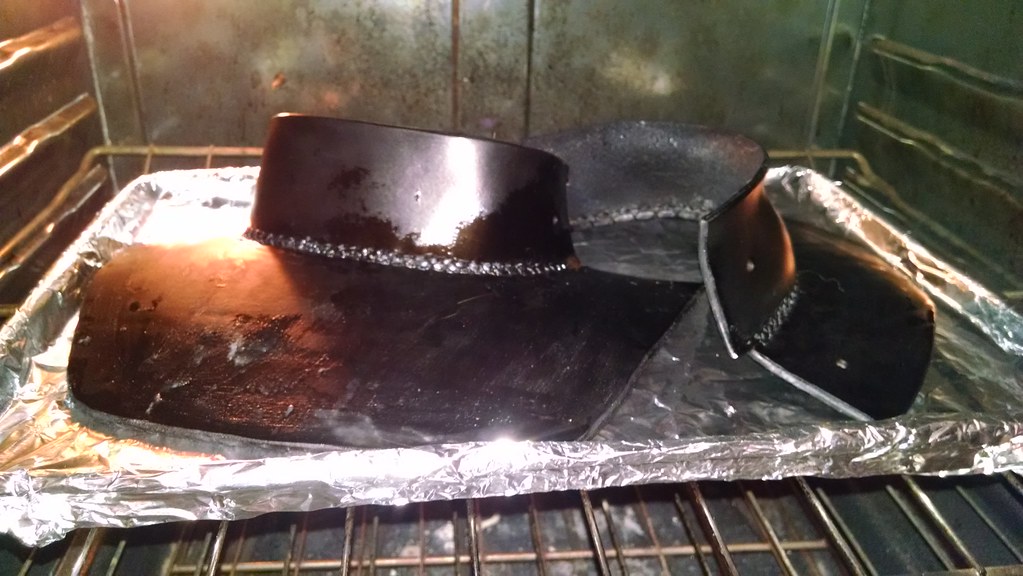
Once your initial coat of wax is on, if you start out cold, it will look something like the following image. You should be able to see all of the areas on the inside and outside. Once you have a thin, (semi) even coat, place your piece in the oven.
Step 3: Rinse and Repeat
Well, you're really not rinsing anything, but you are repeating the process. Check on your piece regularly. If it's still got wax puddled, then let it all absorb between applications, but if it looks like it's dry, baste/brush it again. Eventually (for me it seems like three coats is the magic number), it will take no more wax and will continually look wet.
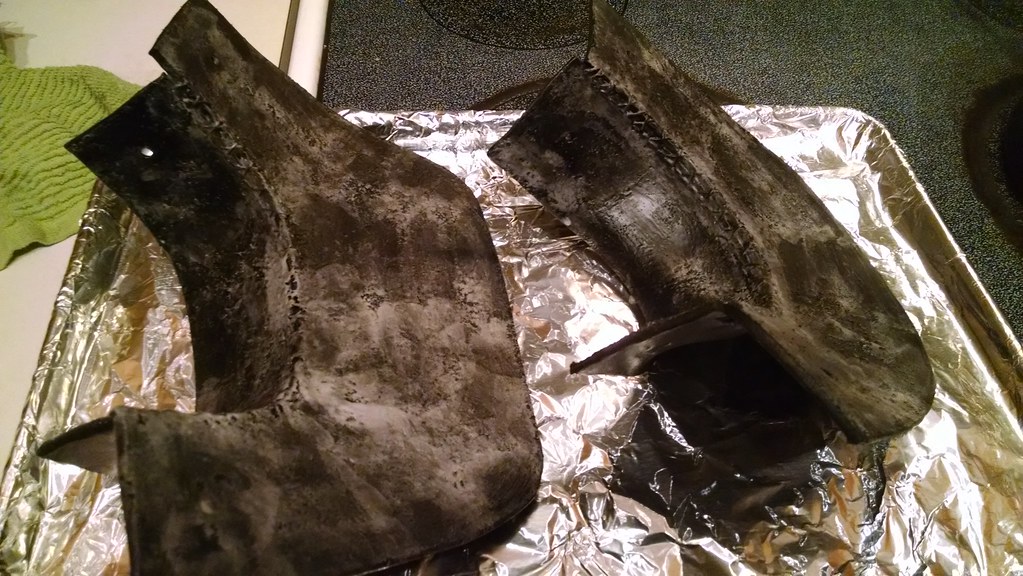
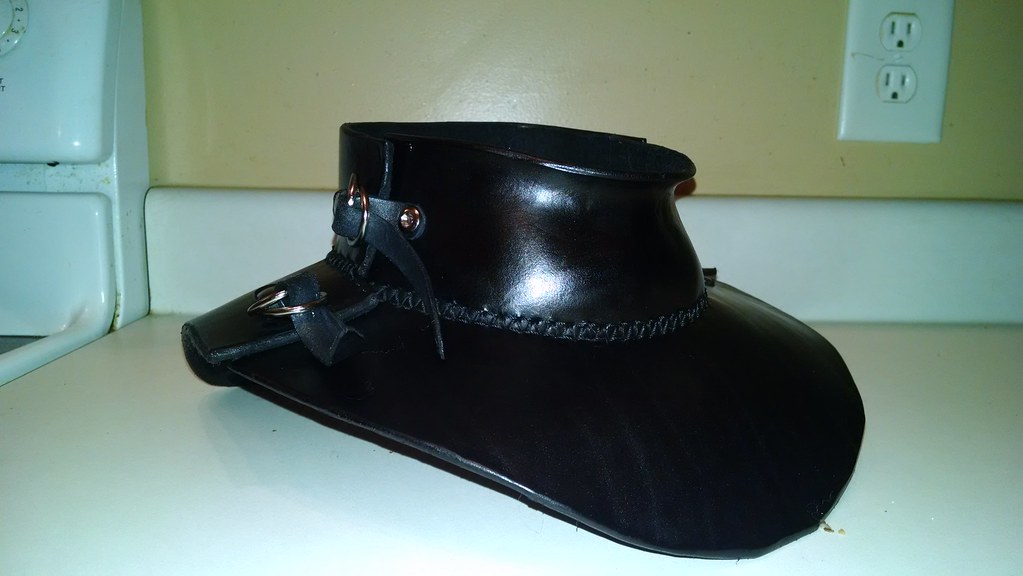
Step 4: Clean It Up
Once you set your piece to cool at room temperature, there will inevitably be some dried wax on the outside of the piece. I use a microfiber cloth to wipe the piece down inside and out, then go back with a piece of raw wool scrap and buff the piece. Not only does it give a nice shine, but after a couple of hours it sounds like you're knocking on a door.
Additional Information
- First and foremost I can not stress enough, but make sure that the first time you try and cook leather down, or do a wax hardening, make sure that you're using a test piece. There is no better way to ruin a finished piece than using a method you haven't played with yet. Trust me, I'm speaking from experience on this one.
- Be aware - if your piece is not black, it WILL get a LOT darker than it used to be. If you're married to a certain color on your work, make sure you test a swatch to see how it's going to react to the finished piece. Yes, I know I said that above. I'm saying it again.
- If you do not check your piece in the oven - it can still burn. Heat is hot. Leather used to be skin. Remember how quickly the back of your hand turned red when you hit it on the oven grate? The leather will do the same. It will also retain lines and marks from foil or grates that it may have been resting on. Yes, I've made those mistakes too.
- Ventilation is your friend. You're melting paraffin. You're cooking chemically treated leather. It just makes sense.
That stuff aside, you're going to see a lot of people shake their head at me on this method. Other folks will swear by actually dunking the leather in hot wax and leaving it there until it quits bubbling. I do not prescribe to this method because 1) it's more difficult to control what you have to pull the leather out of the hot wax with (i.e. tongs screwing a piece up altogether) and 2) the amount of added wax can become excessive. With putting it in the oven, you're on a lower rate of heat
so it's warming the leather instead of full on cooking it. It's hot, but I can still pick it up with my hand and work the piece.
I've also noticed that if using the oven instead of a big pot, you can tell quicker when it's absorbed enough to become rigid. Trying to eyeball
when bubbles stop flowing in the pot has left more excess on the leather after it's done than the oven method, in what I've seen to date.
The leather doesn't have to be completely saturated in order for the wax to do its job.
Keep in mind as well, if you're hardening with wax, your intentions are to not cook it completely. Cuir bouilli and wax hardening
are different methods. There is no sense (in my mind at least) to perform both actions on a single piece if either works
appropriately on its own. If you're going to boil the piece, then just use water, though I have separate opinions on
boiling anything in the first
place (to be covered separately in the cuir bouilli research itself).
Project Photos
Click for a larger view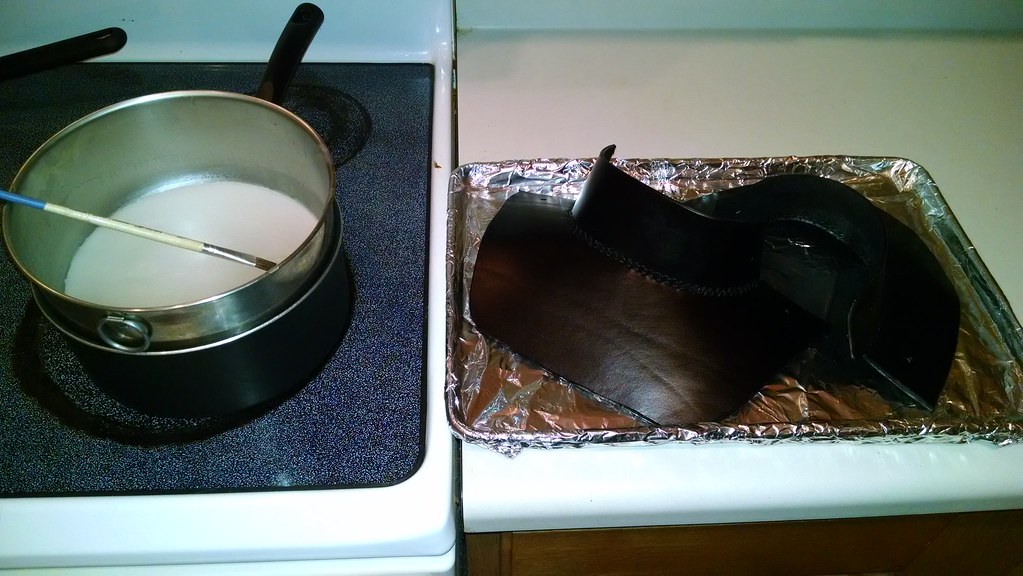
Constructive feedback is both welcome and appreciated, please let me know if I missed some pertinent information or if there's somewhere I can improve.
As always, thanks for reading!
Ihone