Nearly every project will require some type of stitching, if the piece is going to be functional. Hand stitching a piece takes time and patience, it is never as easy as machine stitching. You will run into inconsistencies that will reduce themselves with time. The biggest key in stitching is to make sure that you have lined up the punched holes as closely as possible. With thinner pieces of leather, you can often times place the rough sides of the leather together, then punch through both pieces at the same time. Each time you punch a hole, place the first prong of the punch into the last hole that was left from the previous punch as pictured.
A more effective and secure method of stitching leather involves using two needles in tandem, as illustrated in the accompanying diagram. This technique, commonly referred to as the saddle stitch, builds upon the principles of traditional hand stitching by allowing the thread to pass through each stitching hole from opposite directions. The result is a strong, balanced seam that provides exceptional durability while maintaining a clean, professional appearance on both sides of the leather. Unlike a traditional backstitch, which uses a single needle to create overlapping stitches, the two-needle method uses a single continuous length of thread with a needle attached to each end. As the needles pass through the same stitching holes from opposite sides of the leather, the thread forms a repeating pattern that can resemble a figure eight within the seam. This arrangement creates two continuous lines of stitching that work together to secure the leather pieces. Once both needles have passed through the hole, gently pull the thread ends in opposite directions to tighten the stitch. Apply even tension to both sides so the thread settles neatly into the stitching hole without pulling excessively against the leather.
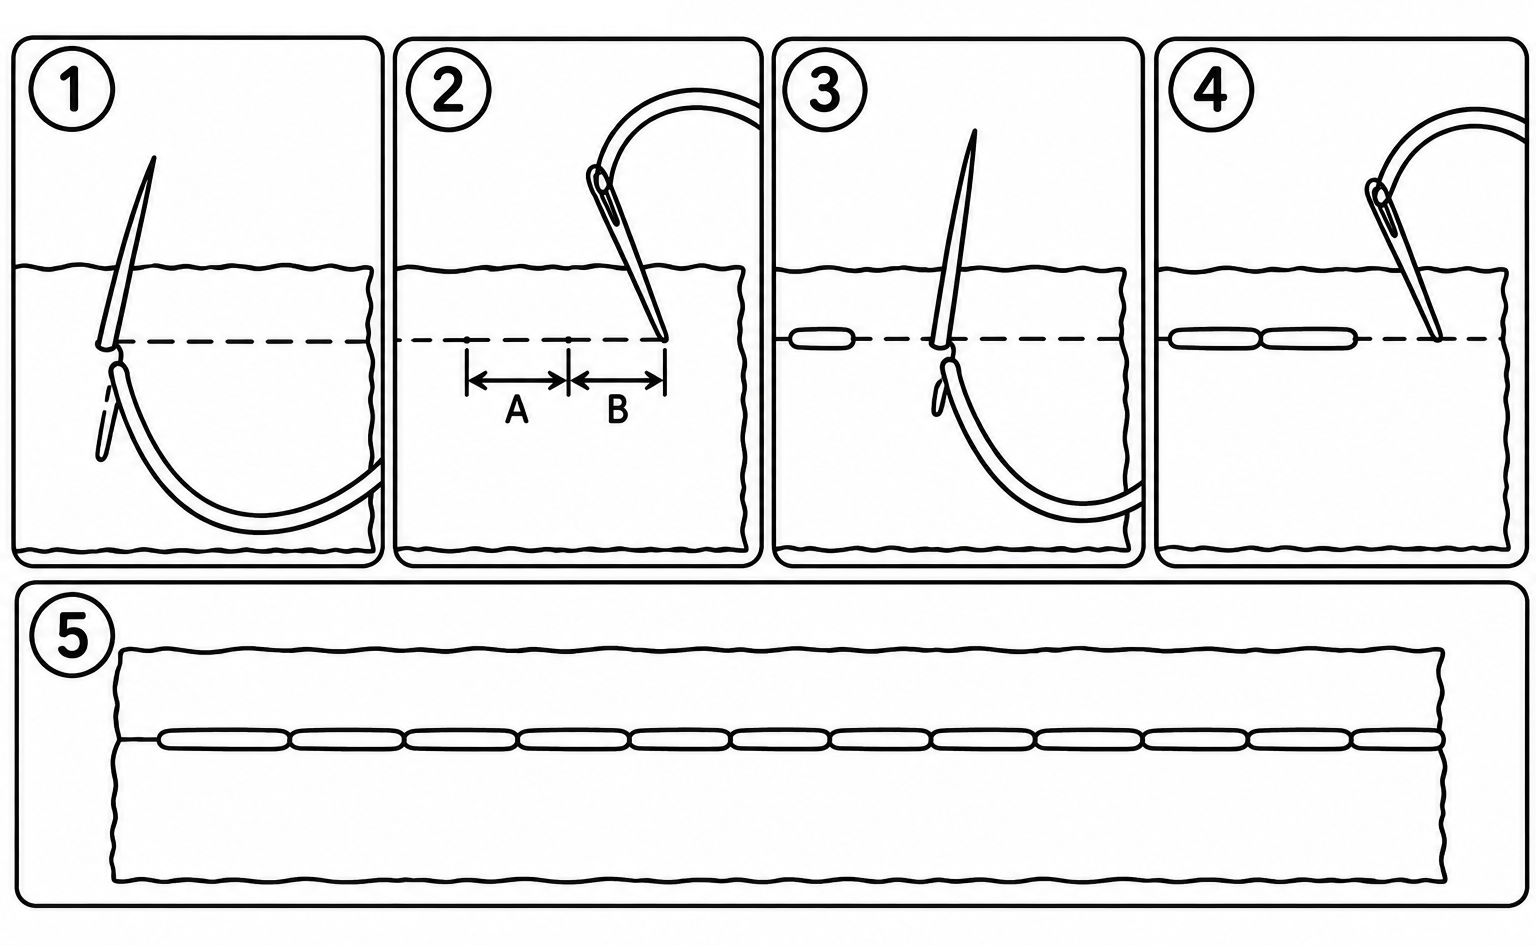
The backstitch is a strong and reliable stitching technique that closely resembles the running stitch, but with an important difference in how the thread progresses along the seam. Unlike the running stitch, which moves continuously forward and leaves small gaps between stitches, the backstitch incorporates a backward movement to fill those spaces and create a more continuous line of stitching. As the needle emerges from the underside of the leather, it is directed backward into the previous stitching hole before advancing forward again. This overlapping process effectively closes the visible gaps left by a traditional running stitch, producing a tighter, more uniform appearance along the seam. One of the primary advantages of the backstitch is its increased strength and durability. By creating overlapping stitches, the technique provides greater thread coverage and helps distribute tension more evenly across both sides of the leather. This reduces the likelihood of gaps forming between the joined pieces and helps prevent the seam from loosening or separating under stress. Because of its secure construction and clean, consistent appearance, the backstitch is particularly useful in leatherworking projects where seam strength, durability, and a professional finish are essential.
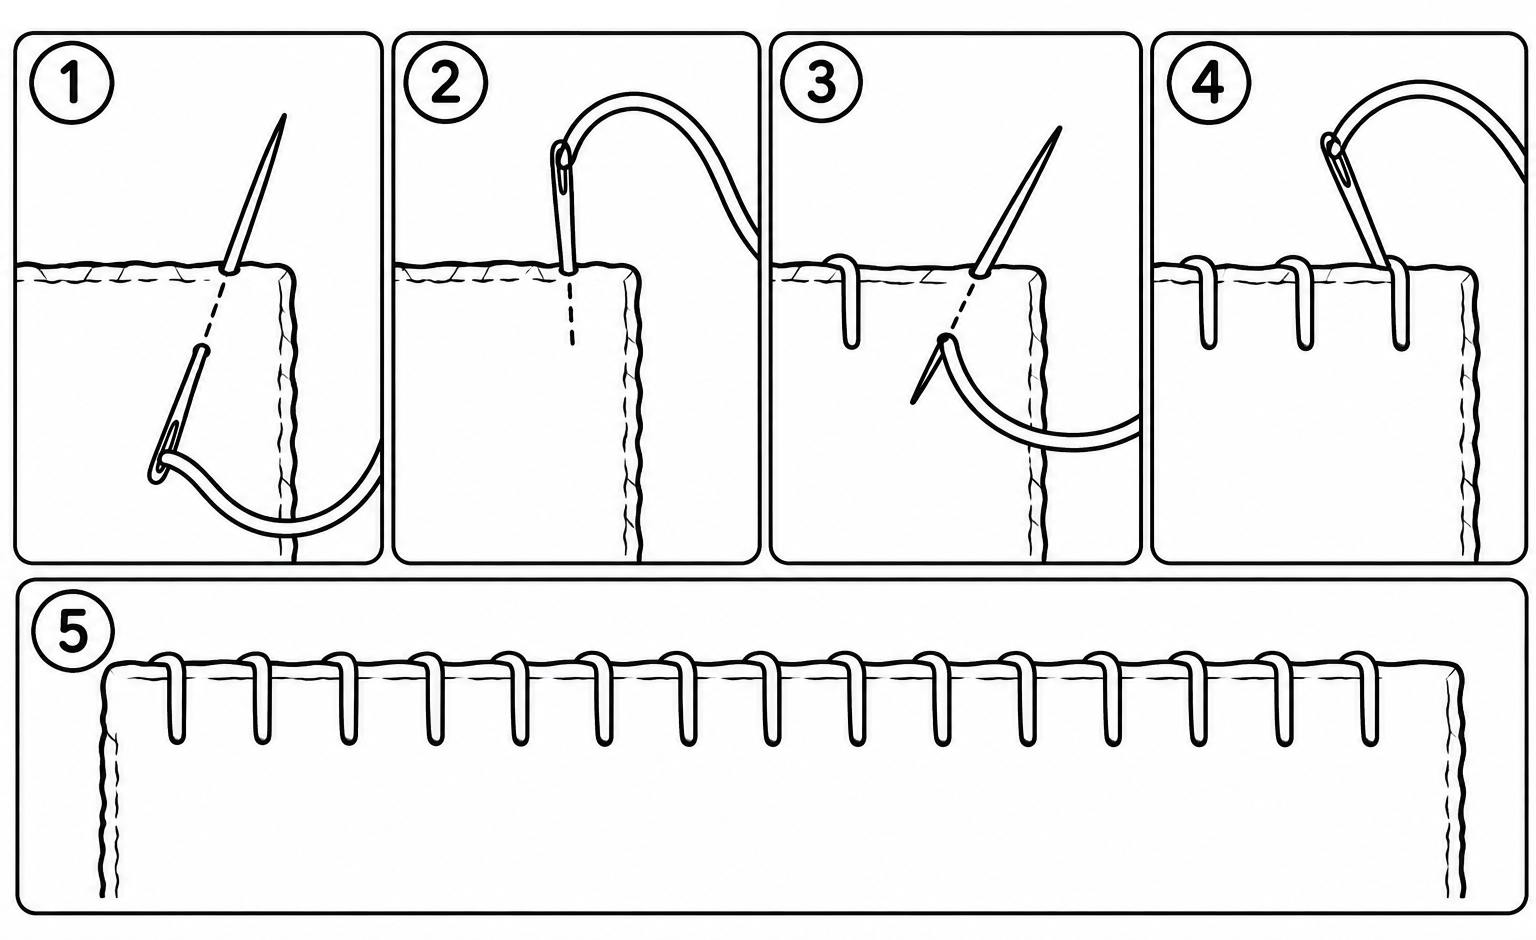
The blanket stitch is a versatile and decorative stitching technique that closely resembles the whip stitch, but incorporates an additional step to create a more secure and defined edge. Like the whip stitch, the needle is passed through the leather and brought around the edge of the material. However, rather than simply pulling the thread tight after each pass, the needle is guided through the loop of thread formed along the edge before the stitch is tightened. As you continue working along the seam, each new stitch creates a small loop that catches and secures the thread against the edge of the leather. This produces a series of evenly spaced stitches connected by a continuous line of thread running along the material's edge. The blanket stitch is particularly useful for finishing exposed edges, joining pieces of leather, and adding a decorative border to a project. The looped construction helps keep the thread positioned neatly along the edge while providing additional reinforcement and a clean, consistent appearance. For the best results, maintain even spacing between stitching holes and apply consistent tension as each loop is tightened. Avoid pulling the thread excessively tight, as this may cause the leather to bunch or distort along the seam.
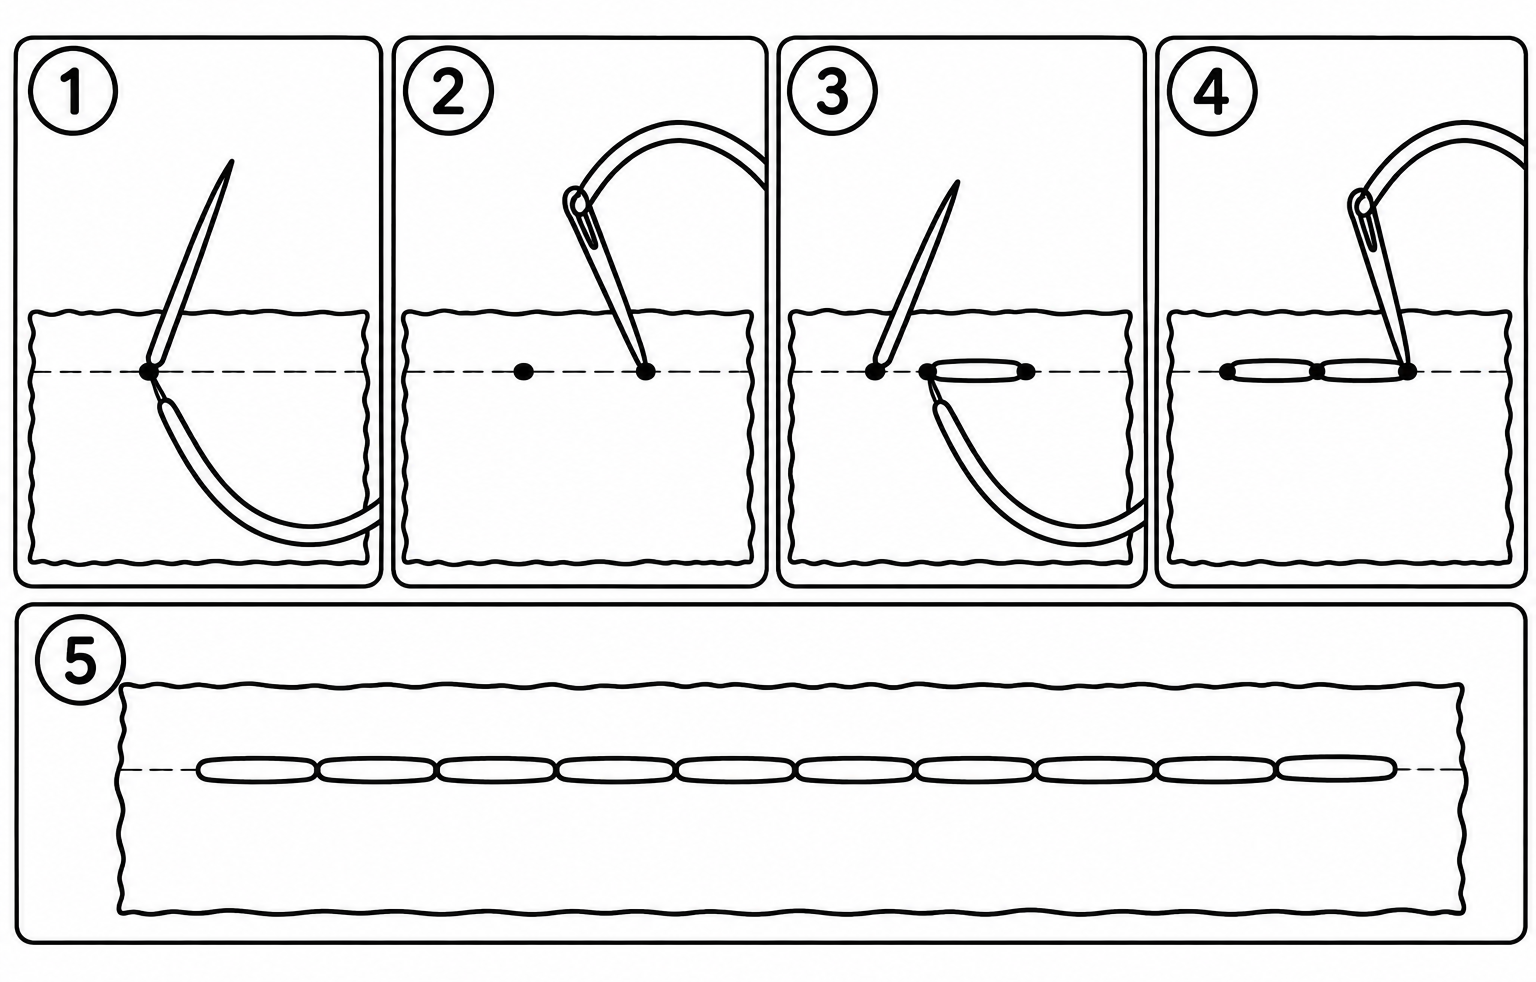
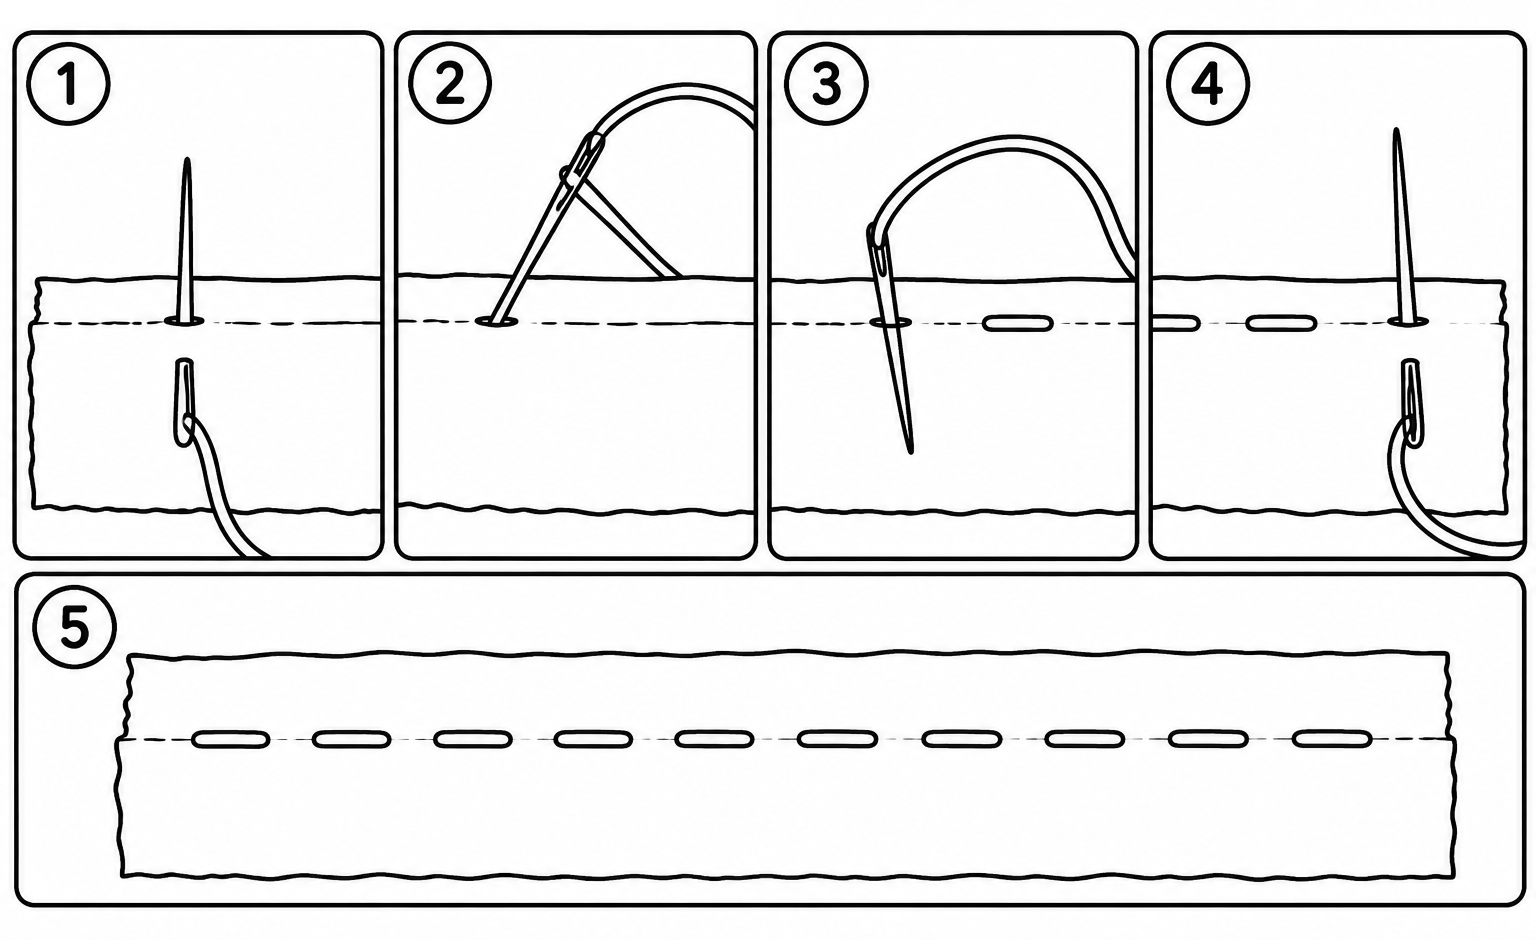
The running stitch is one of the most basic and commonly used stitching techniques in leatherworking. Unlike the whip stitch and blanket stitch, which wrap around the exposed edges of the leather, the running stitch travels directly through the material, creating a simple series of evenly spaced stitches along the seam. To create a running stitch, begin by passing the needle down through a stitching hole on the top surface of the leather. Next, bring the needle back up from the underside through the following hole. Continue this alternating motion, passing the needle down through one hole and up through the next as you work your way along the seam. This creates a repeating pattern of visible stitches separated by small gaps on both sides of the leather. The running stitch is particularly useful for simple seams, decorative stitching, and projects that do not require a significant amount of structural reinforcement. Its straightforward construction makes it an excellent technique for beginners to practice, helping develop consistency in stitch spacing, needle placement, and thread tension. For the best results, maintain even spacing between stitching holes and apply gentle, consistent tension as you pull the thread through the leather. Avoid pulling the stitches too tightly, as this can cause the material to pucker or distort along the seam. While the running stitch provides a clean and uniform appearance, it is generally less secure than techniques such as the backstitch or saddle stitch. For projects that will experience frequent movement, pulling, or heavy use, a stronger stitching method may be more appropriate.
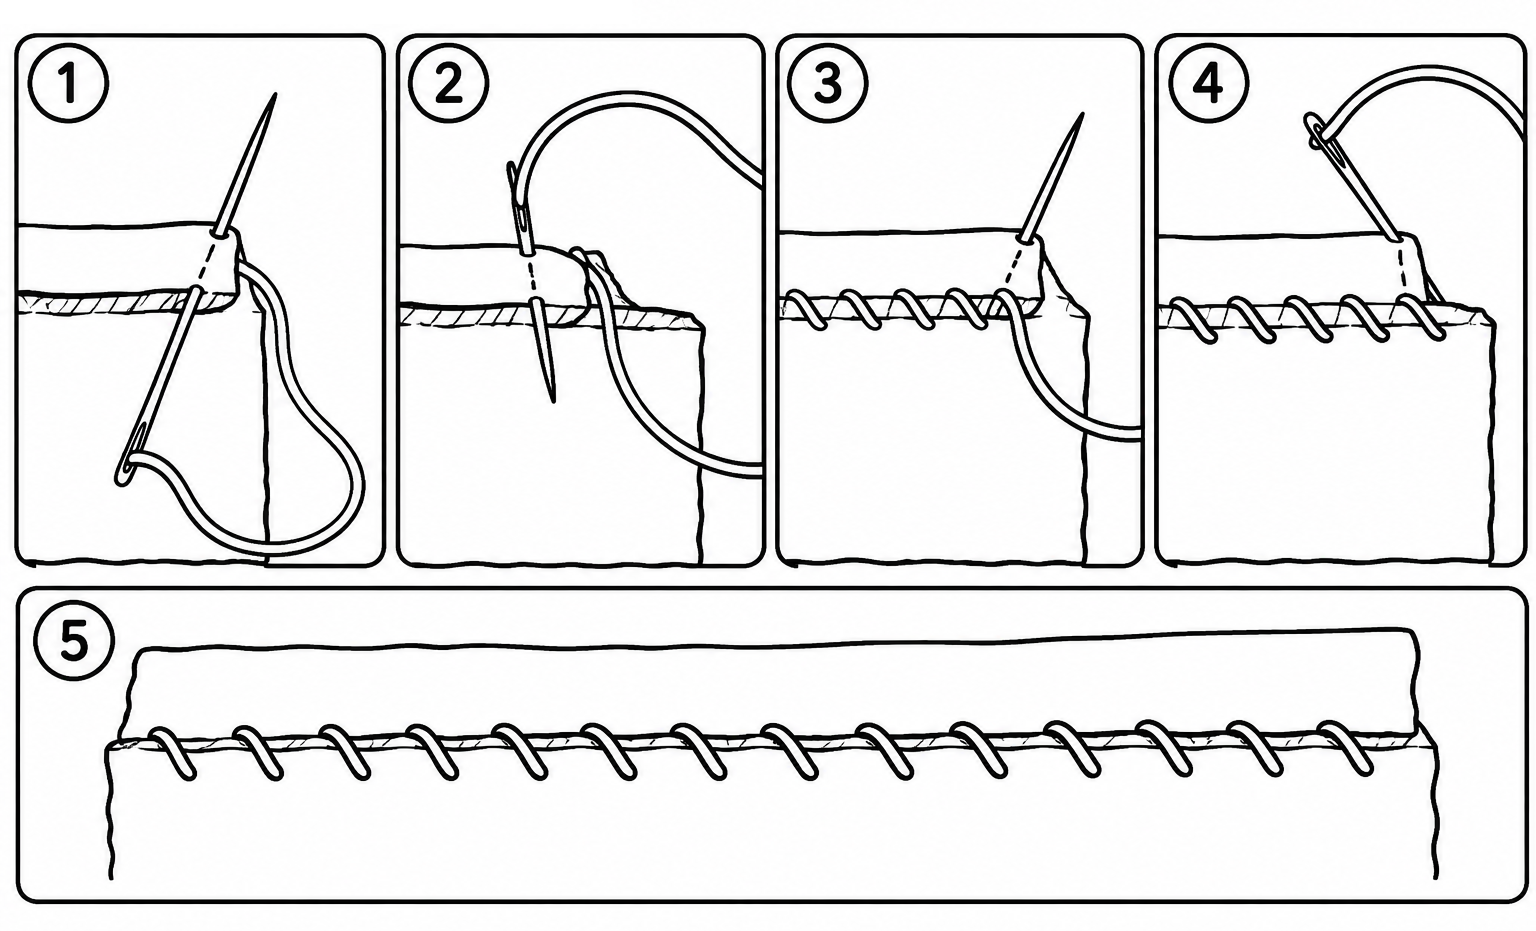
The whip stitch is one of the simplest and most accessible stitching techniques used to join two pieces of leather together. Its straightforward construction makes it an excellent starting point for beginners, while its versatility allows it to be used in a variety of leatherworking projects. This technique creates a series of diagonal stitches that wrap around the exposed edges of the leather, holding the pieces together while producing a clean, decorative finish. To begin a whip stitch, align the edges of the leather pieces and position the needle at your starting hole. Pass the needle downward through both layers of leather, pulling the thread through until the stitch is snug against the material. Next, bring the needle around the outside edge of the leather and return it to the starting side at the following stitching hole. Repeat this downward motion, advancing one hole at a time as you work along the seam. As you continue stitching, the thread will form a consistent series of diagonal loops around the edge of the leather. These loops help bind the two pieces together while creating a distinctive wrapped appearance along the seam. The whip stitch is particularly useful for joining exposed edges, assembling small leather accessories, and adding decorative stitching to projects where a simple, functional seam is desired. Although it is relatively easy to learn, maintaining proper technique is important for achieving a durable and professional-looking result. For the best results, keep the stitching holes evenly spaced and maintain consistent tension throughout the process. Each stitch should rest snugly against the leather without being pulled excessively tight, as too much tension can cause the edges to curl, bunch, or become distorted. While the whip stitch provides a practical and attractive method of joining leather, it may not offer the same level of strength as more advanced techniques, such as the backstitch or saddle stitch. For projects subjected to significant stress or repeated movement, a more reinforced stitching method may be preferable.